
STAY TUNED
Contact Us


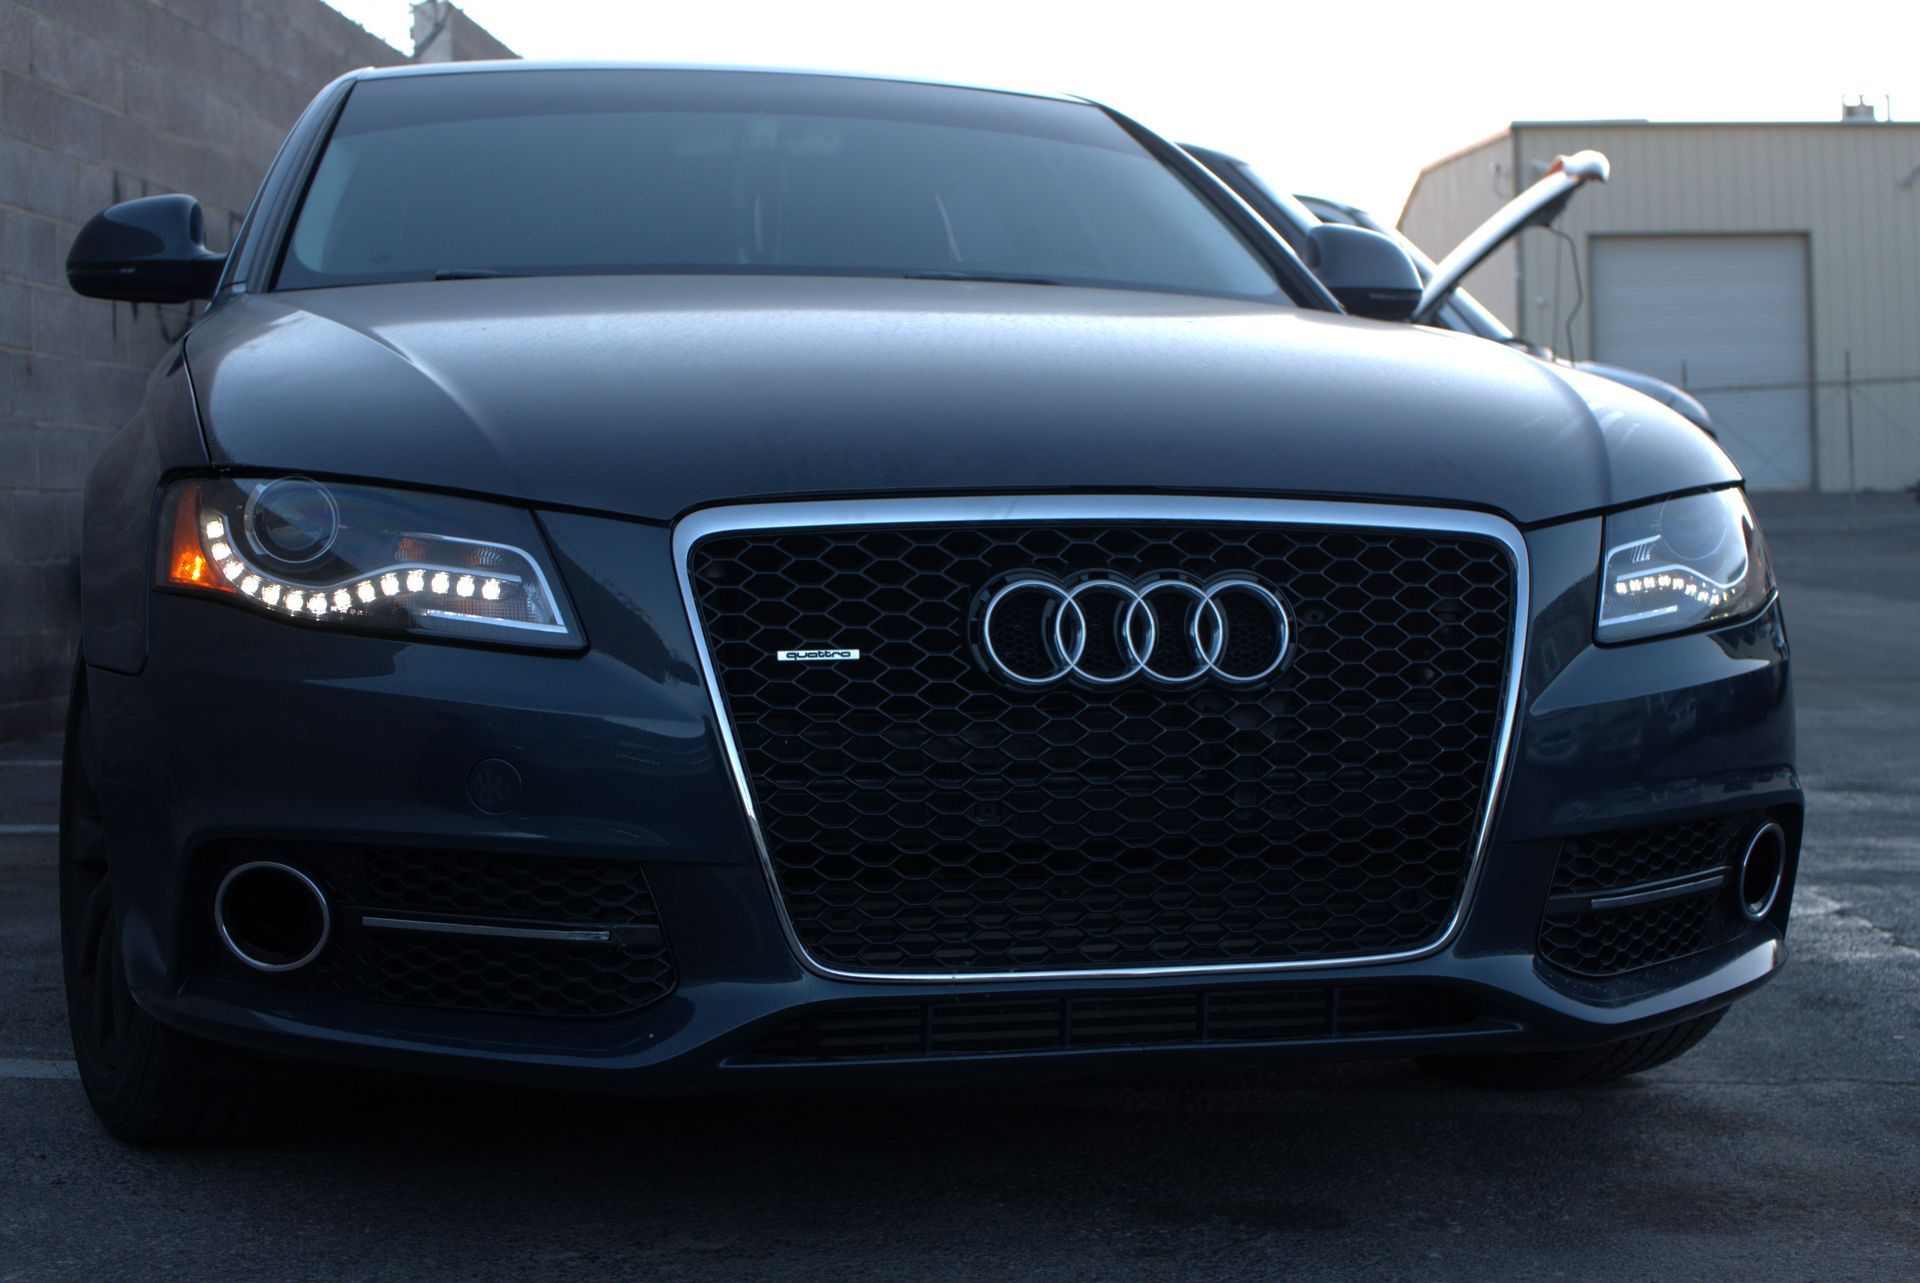
2009 Audi A4 Quattro 2.0 CAEB Real Main Seal Replacement
This article will give a rundown of the process to diagnose and repair the following issues on the 2009 Audi A4.
We received this car with P2279 and P0300.
P2279 indicates an intake air system leak.
P0300 is a random misfire.
Diagnosis
After receiving the vehicle, we examined the fuel trims and found that the long term fuel trim was maxed out at +50, while the short term fuel trim was sitting at +25. After taking off the engine cover, I noticed that the Oil Seperator ( PCV valve) was blowing air indicating a blown diaphragm on the valve. After replacing the valve, the fuel trims went down significantly. After, the engine began to run even worse with misfires on every cylinder and we still had the original codes.
The next day, we smoke tested the engine to see if there were any air leaks in the crankcase as there was no evidence of leaks in the intake. The smoke test ran for about 5 minutes and the smoke came billowing out of the rear main seal. The repair for this seal would require the complete removal of the engine.


Repair
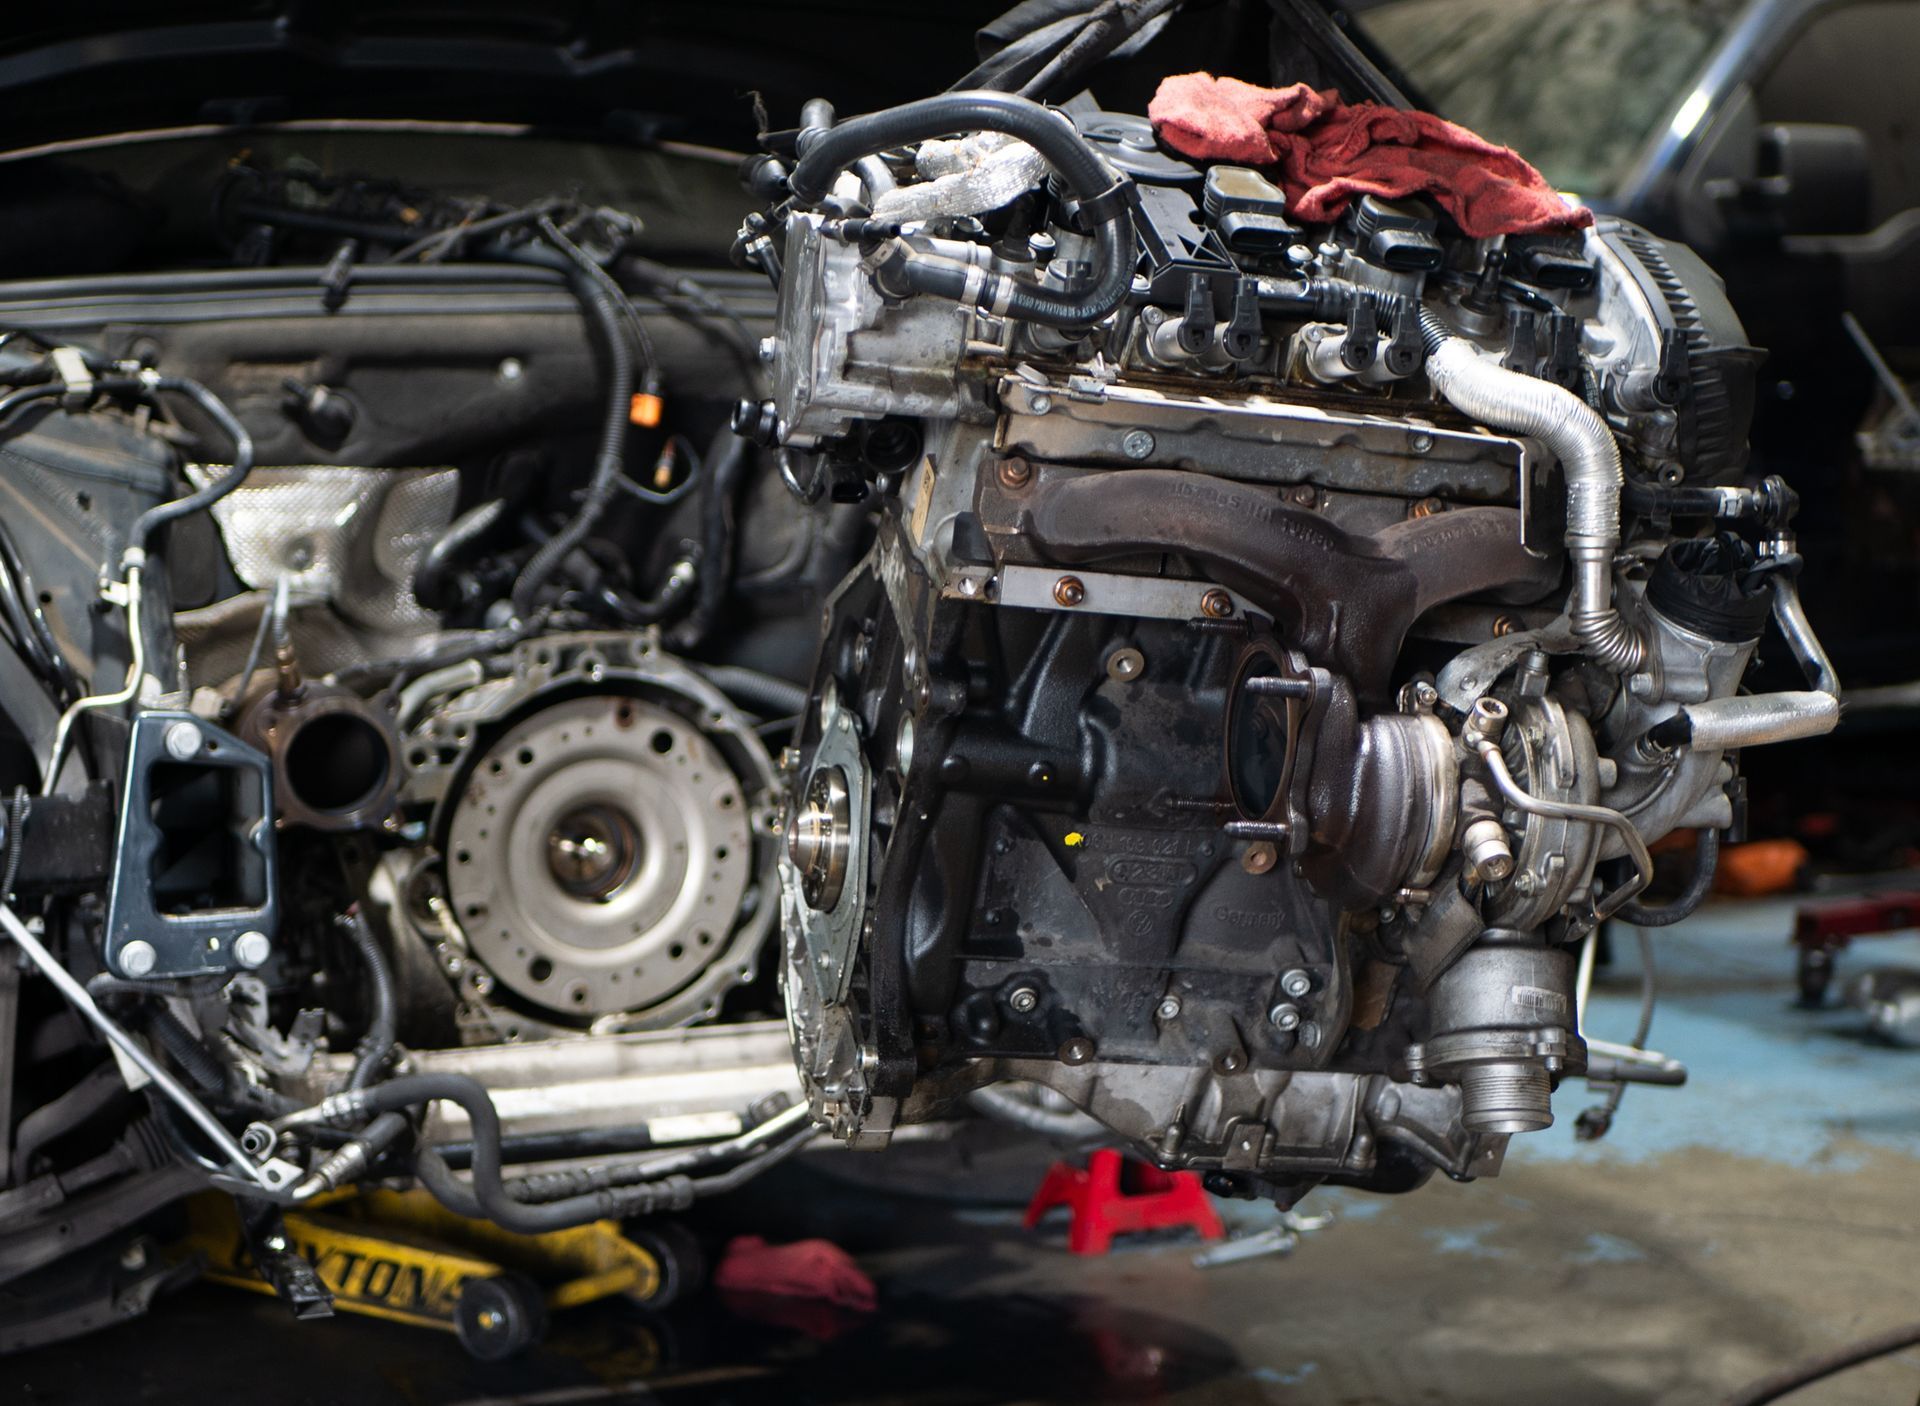
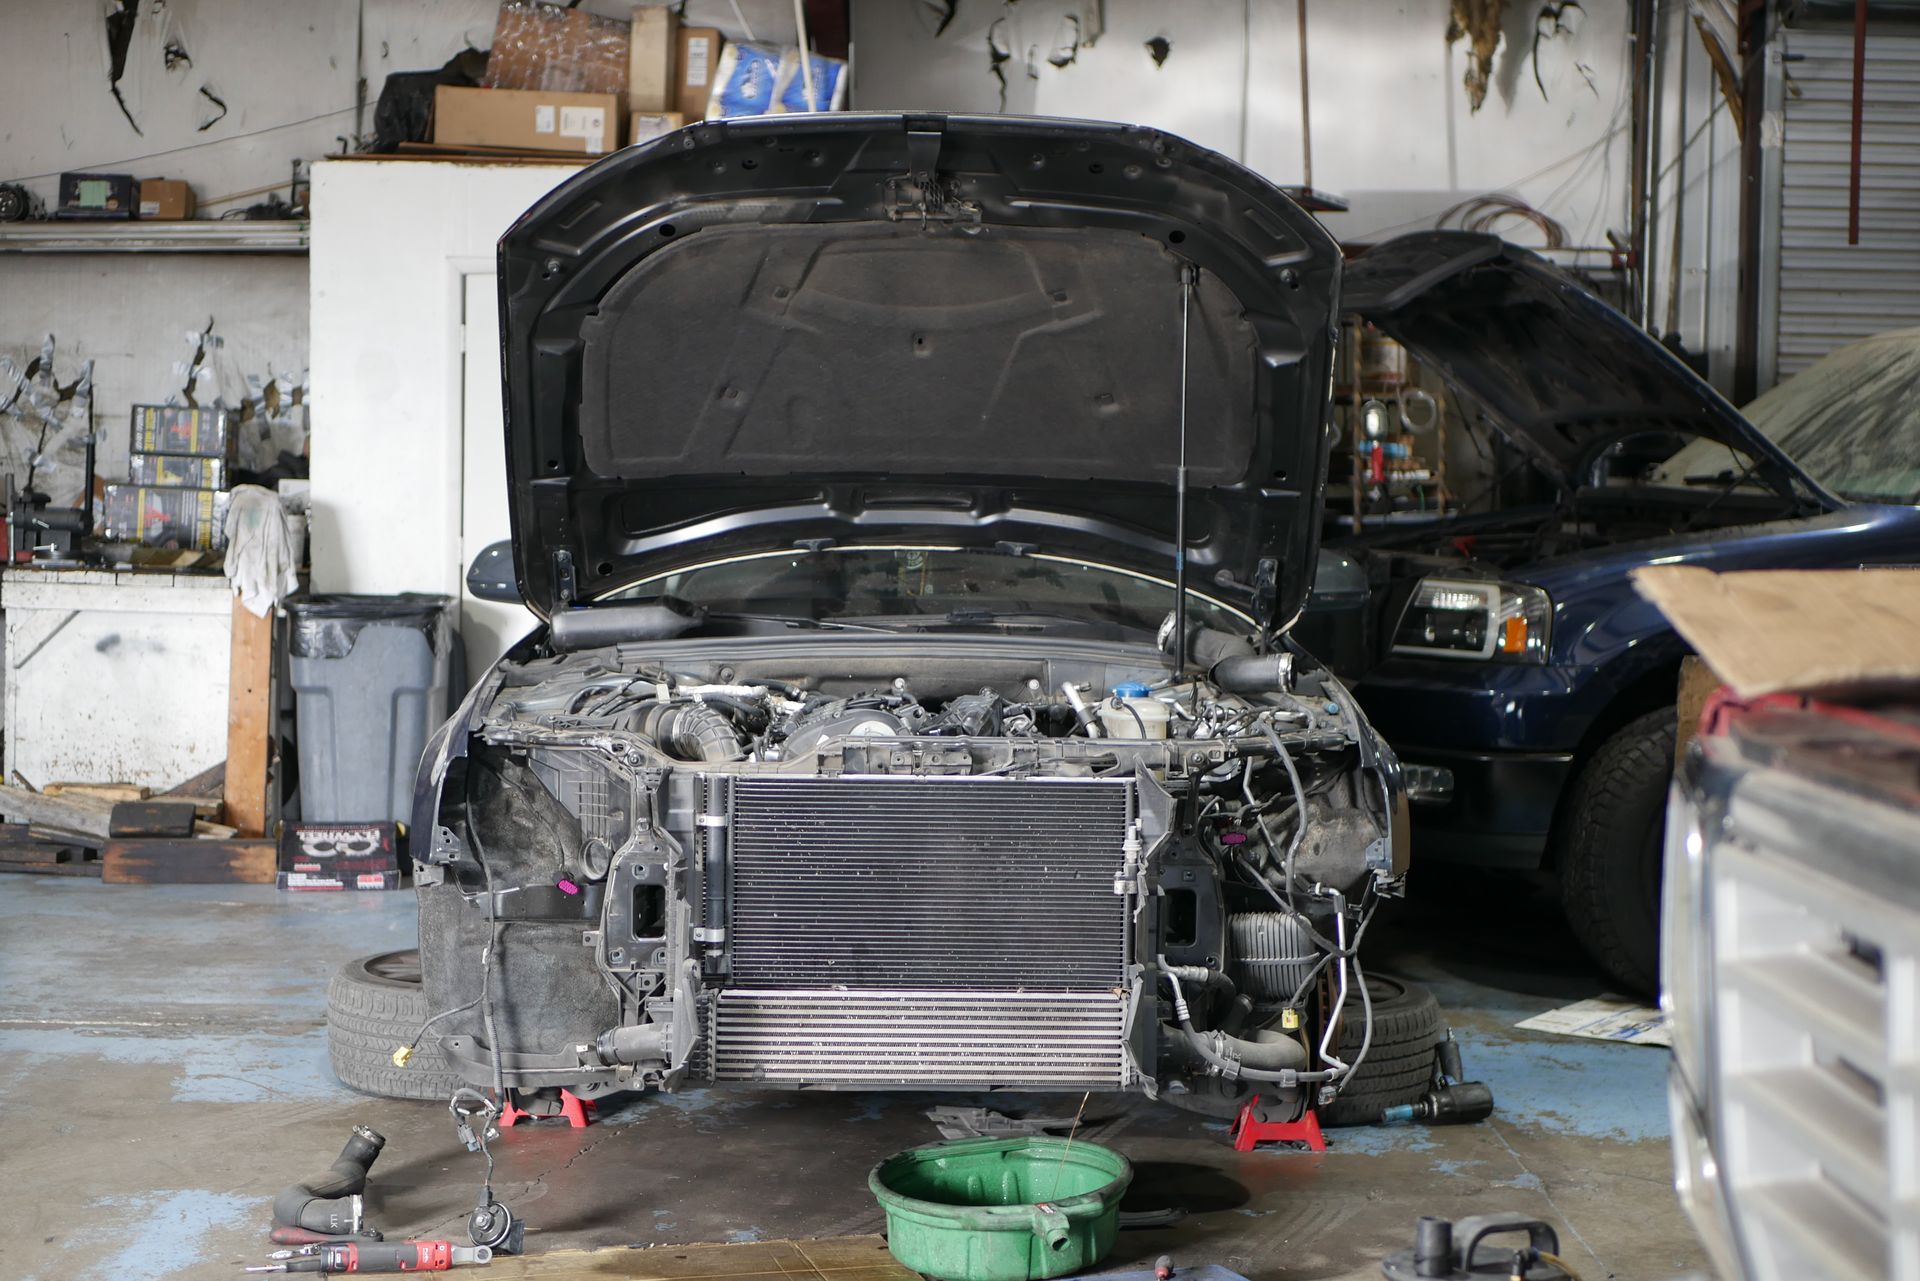
Upon approval from the customer, the car was then lined up in one of the shop bays to begin the repair. We began by removing the front end of the car. We had to remove the bumper, headlights, and crash bar to access the front clip. The front clip contains the intercooler, condenser, radiator, and the radiator fans. For this, we drained the coolant, evacuated the refrigerant, removed the transmission lines, and unhooked all the intercooler hoses.
Now, with the engine exposed, we can now more easily reach components such as the alternator, power steering pump, A/C compressor. We can more easily unhook the catalytic converter from the turbocharger. It also makes it easier to remove and access transmission bolts and the hard to reach connectors under the intake manifold. After removing the engine, we found that the rear main seal had been completely blown out. It had been leaking air and oil for a while. We drained the oil and removed the seal. After, we cleaned the surface to aid with the installation of the new seal. Audi recommends torquing the bolts in a specific sequence to allow the seal to seat correctly.
Afterwards, we prepped and cleaned all the applicable engine bay and engine surfaces to begin the installation of the engine. While we have the engine out of the vehicle we have a chance to examine any other surfaces that may need cleaning or resealing. With the engine out of the vehicle, we have greater access to reseal items such as the oil pan, turbocharger oil and coolant lines, and the rear of the engine which contains the high pressure fuel pump, a vacuum pump, and various heater hoses. After the repair the engine was successfully cleared of the check engine light. The engine was allowed to run for about an hour to release air from the cooling system and to ensure that the seal works as intended. We also double checked that all connections were plugged in and all the bolts were tightened to spec.
Share

Driven to serve you with honesty and efficiency.
CONTACT
(702) 234-1057
mejia.autoshop@yahoo.com
4655 Boulder Hwy
Unit AB
Las Vegas, NV 89121
HOURS
- Mon - Fri
- -
- Saturday
- Closed
- Sunday
- -